Monday, November 8, 2010

The best apple cake ever! (I made it three times in one week!)

Annie and Tina's family went apple picking and came back with bags of my favorite apples: the Russet. They are only available towards the end of the apple picking season and are delicious and very sturdy, perfect for baking. An apple pie was out of the question since I'm still trying to get over the embarrassment of this. In my search of an apple dessert recipe, I stumble on Smitten Kitchen's Mom's apple cake and couldn't believe it. Not only did it look so delicious (but then again, nothing on Smitten Kitchen ever looks not delicious) and the recipe was so simple; no ingredients to let sit at room temperature, no creaming of the butter and sugar until light and fluffy, no need to even pull out the stand mixer! It was a winner.

It took no time at all to make it and it came out so glorious, it was like fall in a cake. After a quick picture and barely no cooling time (I have no patience when things look this good), I dug into it. It was so much better than I expect it, so moist with the perfect cinnamon and apple taste. It was heaven. Everyone who tried it also loved it, and I, myself, loved it so much, I made it again at two other occasions in the same week!


I know bloggers are very quick at calling a recipe best EVER, but this one is really THE BEST EVER!


Best Apple Cake EVER
adapted from Smitten Kitchen's Mom's apple cake

8 apples (recipe calls for 6, but I love me tons of apples in my cake, also I used Russets)
1 tablespoon cinnamon
5 tablespoons sugar (I kept the same amount of sugar even with more apples)
2 3/4 cups flour, sifted
1 tablespoon baking powder
1 teaspoon salt
1 cup vegetable oil
2 cups sugar
1/4 cup orange juice
2 1/2 teaspoons vanilla
4 eggs
1 cup pecans chopped (recipe calls for walnuts, but I do not like them so substituted!) 

Preheat oven to 350 degrees. Grease a tube pan. Peel, core and chop apples into chunks. Toss with cinnamon and sugar and set aside.
Stir together flour, baking powder and salt in a large mixing bowl. In a separate bowl, whisk together oil, orange juice, sugar and vanilla. Mix wet ingredients into the dry ones, then add eggs, one at a time. Scrape down the bowl to ensure all ingredients are incorporated.
Pour half of batter into prepared pan. Spread half of apples over it. Pour the remaining batter over the apples and arrange the remaining apples on top. Bake for about 1 1/2 hours (my oven is on the hot side and it took me 1hour 10min), or until a tester comes out clean.

Saturday, November 6, 2010

Annie's Birthday Extravaganza

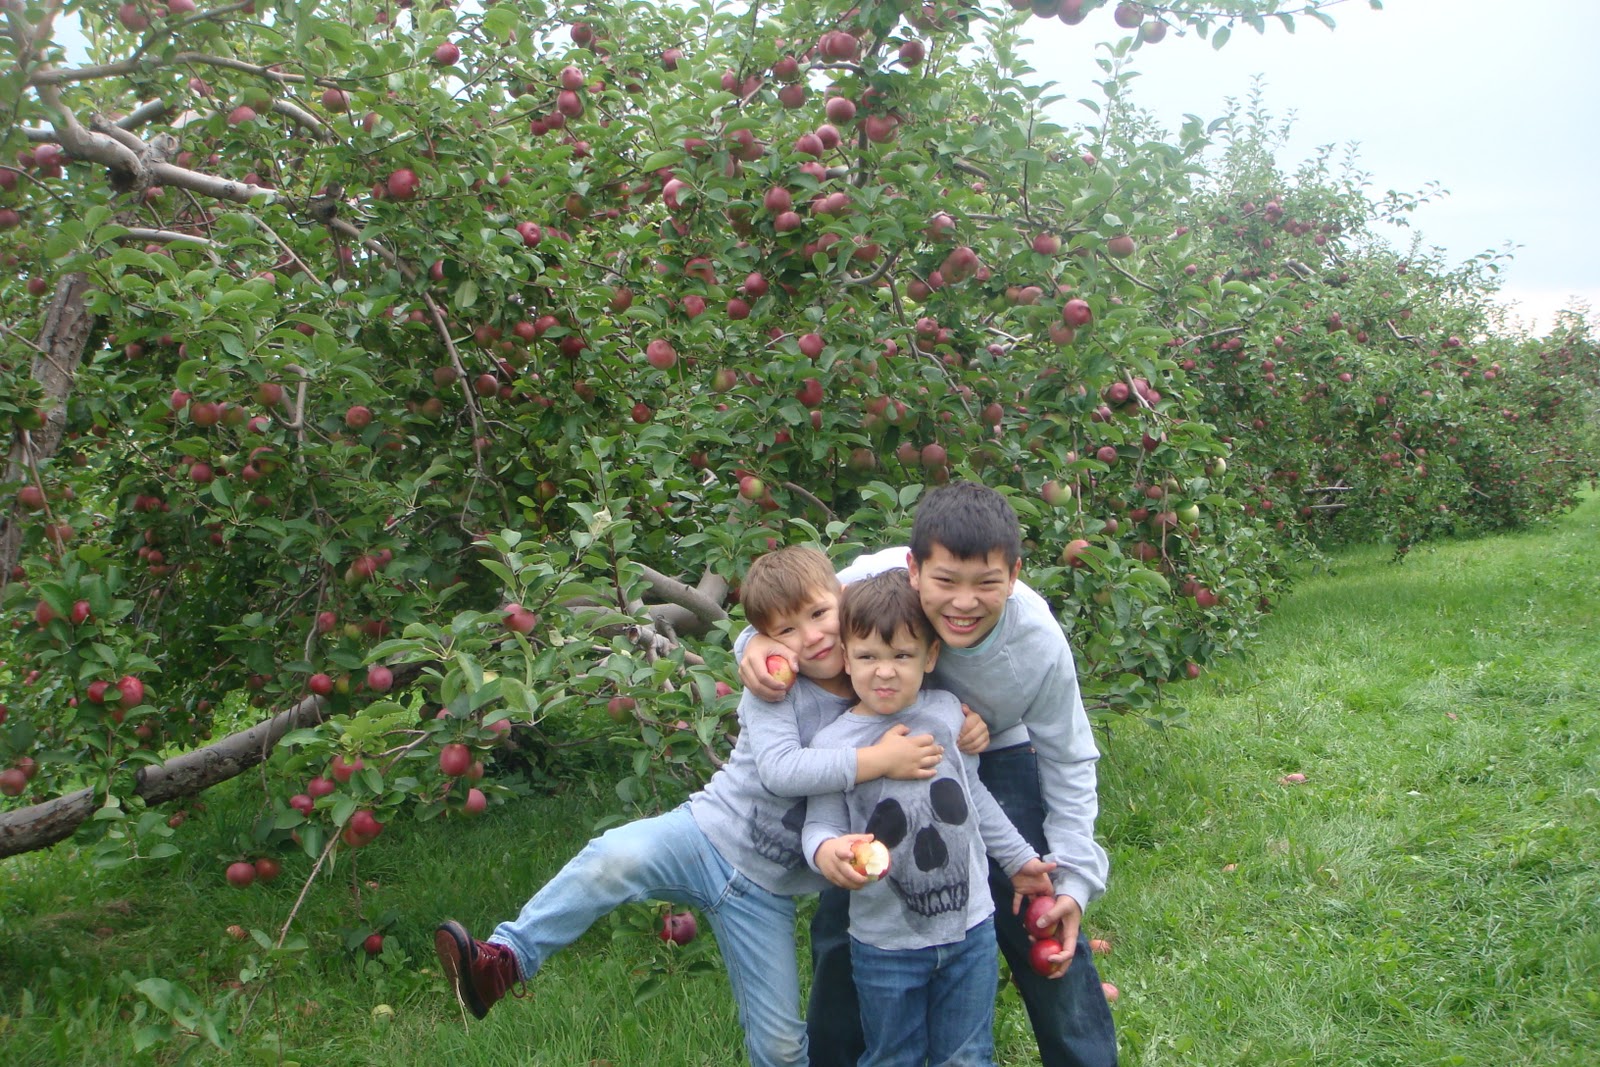
Last September, we celebrated Annie's 22nd birthday. Mini apple pies and a red velvet white chocolate cheesecake--which really should be called Cream cheese cake--were on the dessert menu. Yum! 

I'm not going to do like Thanh and write a whole novel (I am being lazy) . I'll just post a ton of pictures instead.
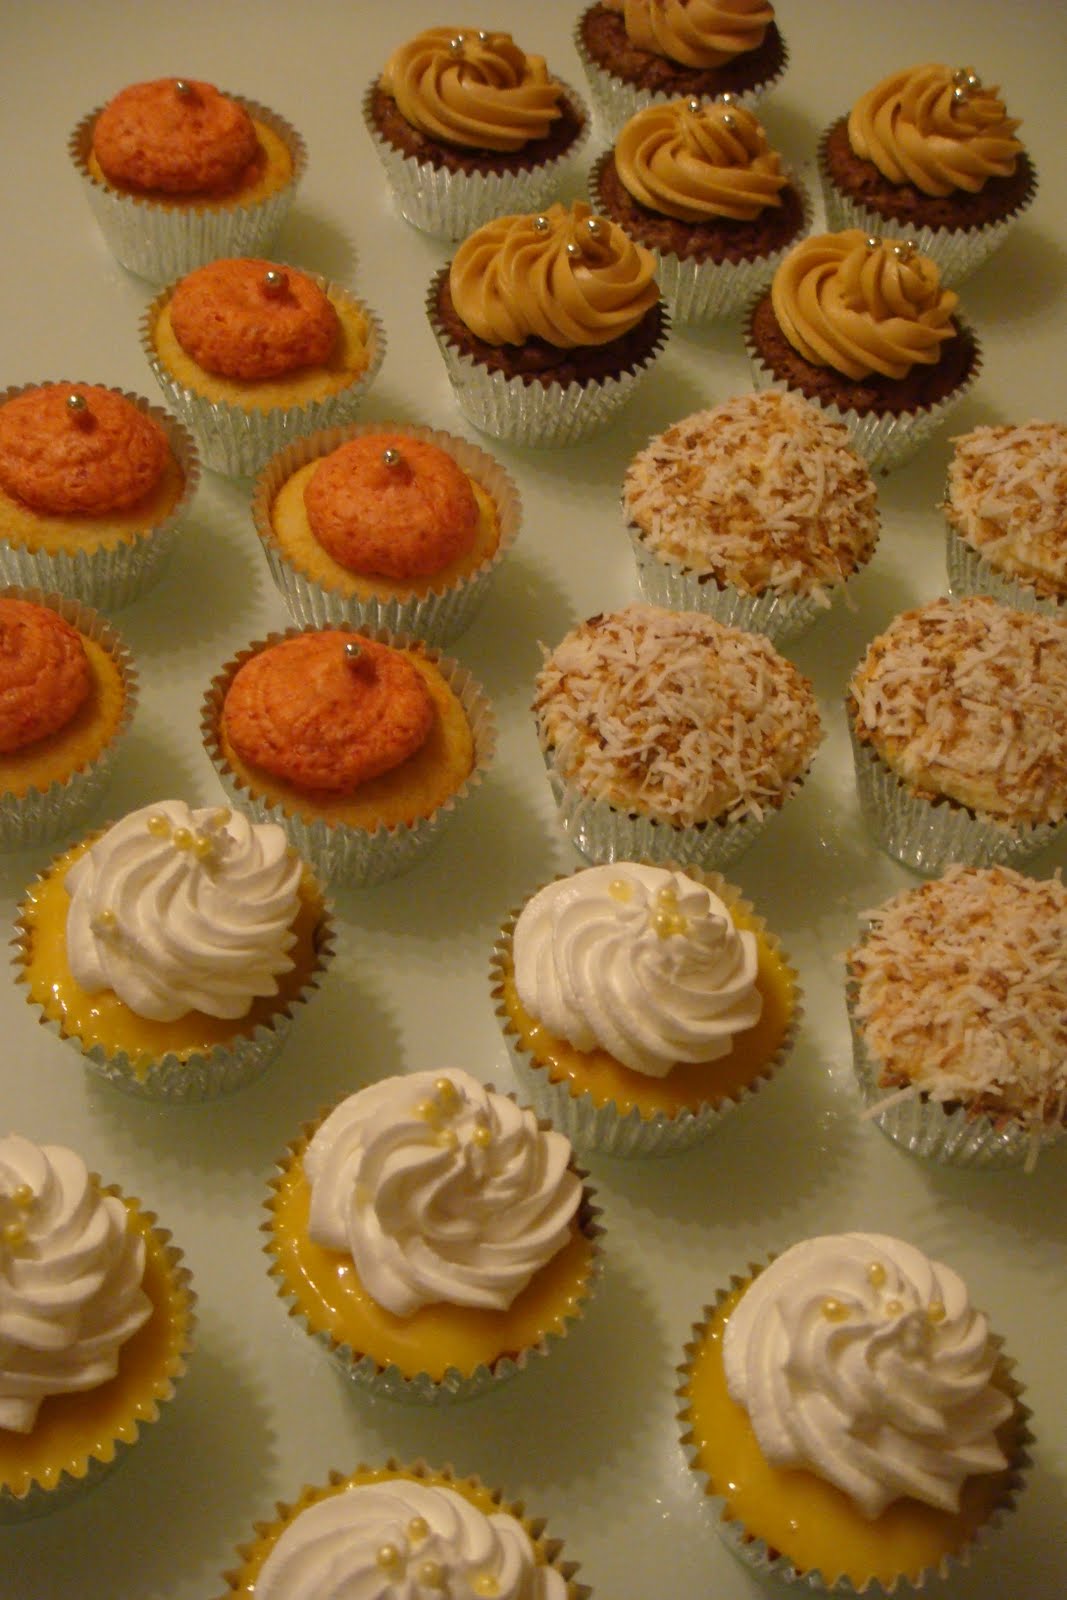
 
How cute are they? 

Little Apple Pies
Adapted from a recipe on Taste.com.au


4 large apples (about 1kg) (We used Granny Smith)

30g butter

55g (¼ cup) caster sugar

1 teaspoon ground cinnamon

2 teaspoons cornflour

milk, to brush

caster or raw sugar, to sprinkle

1. Peel, core and cut apples into a 1.5cm pieces. Melt the butter in a heavy-based saucepan, add the
apples, sugar and cinnamon and cook until apples are tender and the mixture is quite wet. Remove a few
tablespoons of liquid from the pan, mix with cornflour and return to the pan, mixing thoroughly with the
apples. Cool to room temperature.

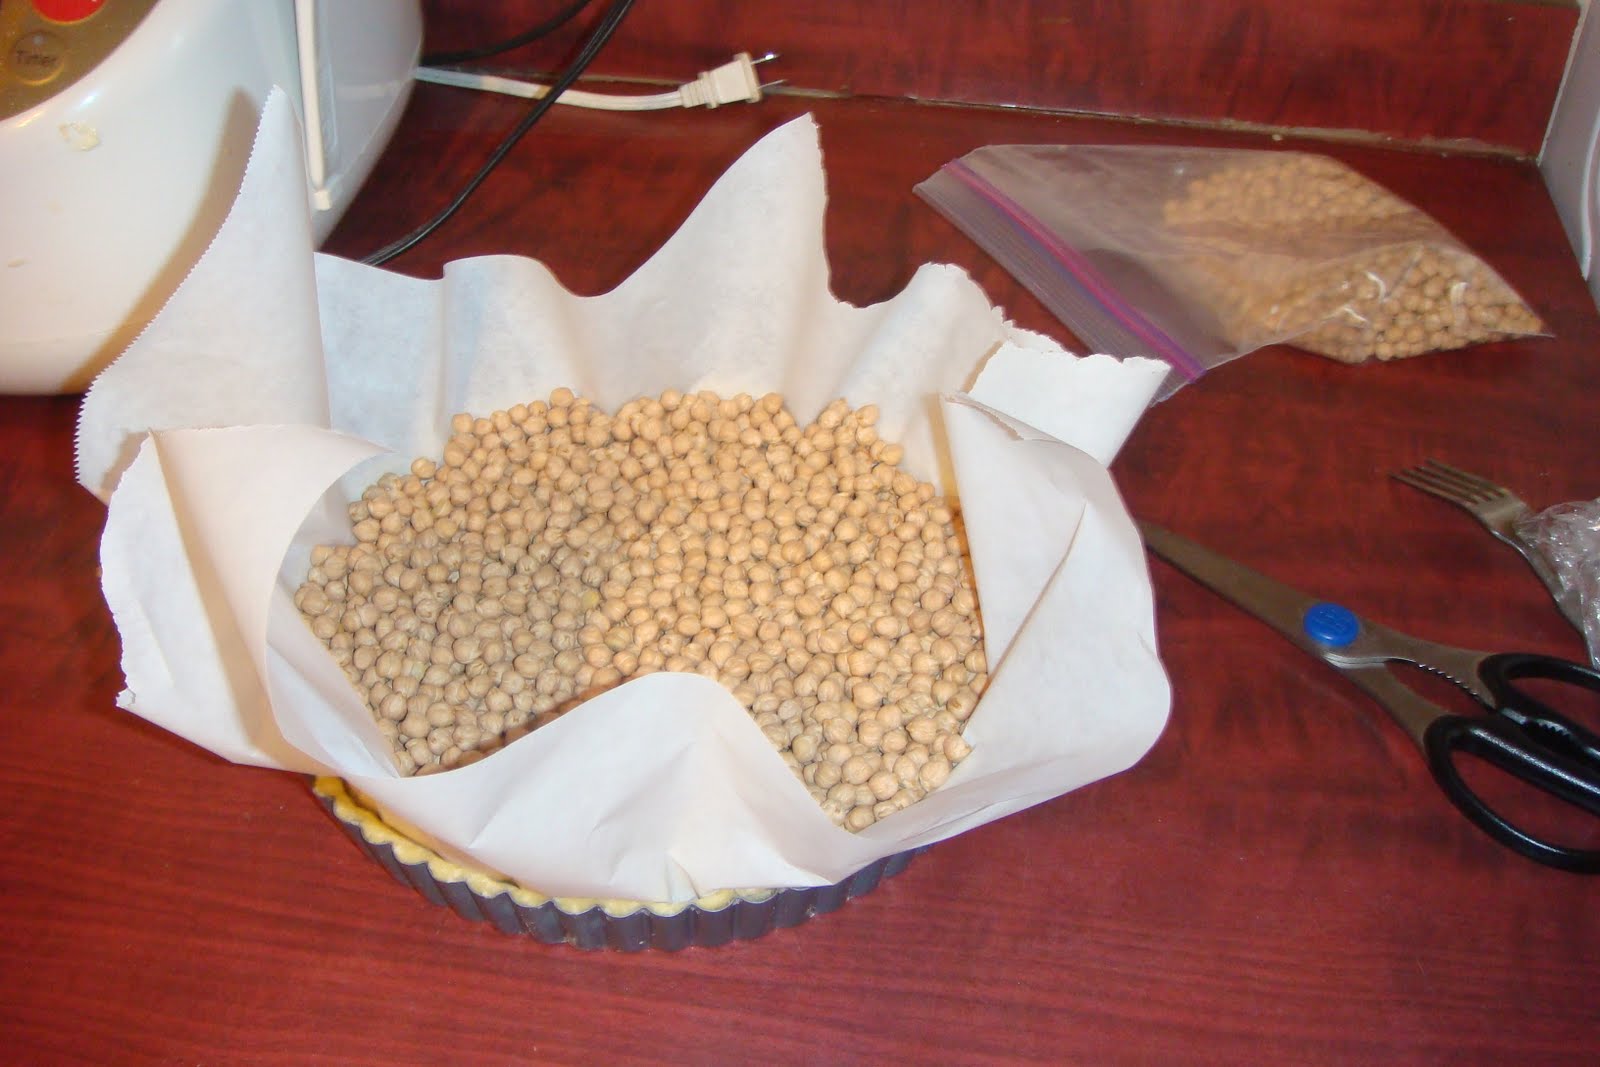
2. On a floured surface, roll out each disc of the dough to 3mm thick. Cut out 10 x 11cm rounds and 10 x 7cm rounds. Line a 12-hole muffin pan (80ml or  cup capacity) with the larger rounds. Refrigerate for around 20 minutes.

3. Place a baking tray in the oven and preheat to 200C.

4. Divide the apple mixture evenly among the prepared pie cases, about three-quarters full (do not fill
right to the top, as I did, hence the tops coming off!) Place a pastry round on top, fold in the edge to seal
and cut a steam hole in the top. Brush the pies with milk and liberally with extra sugar.

5. Bake for 15 minutes. Reduce the temperature to 180C and bake for a further 20 minutes or until
golden. Cool for 20 minutes before removing them from the tin.


Now, the 'Cream Cheese Cake'.

This was our first time making a red velvet cake, so we were pretty nervous about the result. But it was surprisingly easy to make! As for the cheesecake and frosting, I don't think I've ever used that much cream cheese for a single recipe. It was... a little sickening to see.


Red Velvet White Chocolate Cheesecake
Adapted from Judy In Her Natural Habitat: The Kitchen Printable Recipe

Red Velvet Cake
Originally from Martha Stewart's Cupcakes

2 1/2 cups cake flour
2 tbsp unsweetened cocoa powder
1 tsp salt
1 1/2 cups sugar
1 1/2 cups vegetable oil
2 large eggs, room temperature
1/2 tsp red gel-paste food coloring
1 tsp pure vanilla extract
1 cup buttermilk
1 1/2 tsp baking soda
2 tsp distilled white vinegar

1. Preheat oven to 350 degrees F. Whisk together cake flour, cocoa, and salt.

2. With an electric mixer on medium-high speed, beat sugar and oil until combined. Add eggs, one at a time, beating until each is incorporated, scraping down the sides of the bowl. Mix in food color and vanilla.

3. Reduce speed to low. Add flour mixture in three batches, alternating with two additions of buttermilk, and whisk well after each. Stir together the baking soda and vinegar in a small bowl (it will foam), add mixture to the batter and mix on medium speed for 10 seconds.

4. Line two 9-inch cake pans with parchment paper or spray generously with nonstick baking spray. Divide the batter equally between the two pans. Bake for 30-35 minutes, or until a tester comes out clean. Transfer pans to a wire rack. Allow to cool before removing the cake from the pan. Cool completely before assembling cake.

White Chocolate Cheesecake
Originally from the Williams Sonoma Baking Cookbook

2 oz white chocolate, chopped
16 oz cream cheese, at room temperature (2 packages)
1/2 cup + 2 Tbsp sugar
1 tbsp flour
2 eggs at room temperature
1 tsp vanilla extract
1 tbsp heavy cream

1. Preheat the oven to 350 degrees F. Melt the white chocolate and set aside to cool slightly.

2. In a large bowl, using an electric mixer, beat the cream cheese on low speed until creamy. Add the sugar and mix slowly until smooth. On low speed, mix in the flour. Turn off the mixer and scrape down the bowl and beater with a rubber spatula. Add one egg at a time and mix until smooth. Scrape down again. Mix in the vanilla and cream until the mixture is smooth. Stir in the melted white chocolate until incorporated.

3. Pour the batter into a parchment paper-lined (or generously sprayed with nonstick baking spray) 9-inch springform pan. Bake for about 30 minutes, or until the center is set when you shake the pan slightly. Allow to cool before removing from the pan. Allow to cool completely before assembling with the red velvet cake.

Cream Cheese Frosting

24 oz cream cheese (3 packages), at room temperature
3 sticks of butter, at room temperature
3 tsp vanilla
3 cups of powdered sugar, plus more to taste

Combine all ingredients in a large mixing bowl and beat with an electric mixer until well combined.

Wednesday, October 20, 2010

Is that candy in my apple pie?

I'm sitting here with this awful feeling that yet another baking disaster in cooking in my oven right now.

Well last Saturday was apple-picking day for my sister, my 3 nephews and myself. We had the most amazing day at Les Vergers Lafrance and I came home with this huge bag of the most delicious apples ever. Apple pie anyone?? This is my perfect opportunity to conquer my fear of crust and make this recipe from Allrecipes.com has been on my must try list ever since I started baking.


America's Test Kitchen pie crust was my pick since it's foolproof, hence Thanh-proof! The dough work went pretty well with a few Damn-my-dough-stuck-to-the-counter-again moments. So I'm all excited, my apples are all sliced up and looking good, the only thing left to do is the caramel sauce. All ingredients are boiling in the saucepan and I notice I forgot to put in the water. I reach over to measure one tiny tablespoon of cold water and pour it in the mixture...and that's all it took. That tiny bit of cold water was all it took to separate the sugar from the butter and crystallize the sugar to make it as hard as candy.

My saucepan is now home to liquid butter and chunks of hardened sugar. I'm still in denial and out of butter so I go ahead with the recipe anyways and pray that the whole mess will get fixed up in the oven. I should've known better.

THE RESULT:

After 80 minutes of waiting with that pit feeling that my concoction will probably go from the oven straight to the garbage, I hear the timer... I open the oven and only dared to look at it with one eye, here's what came out:

Most of the melted butter has now leaked onto the cookie sheet (I give myself tons of props for at least thinking about putting the pie plate on a cookie sheet just in case.) and half of the sugar chunks are still unattractive chunks. It's too late now to worry, it'll cool overnight and I'll cut into it tomorrow.


Tomorrow came...

The result is a messy pile of apples and candied sugar swimming in a pool of butter enclosed in the most perfect pie crust ever. Did I say "the most perfect pie crust"?


It was hard to let go of "the most perfect pie crust" but the pie itself is not edible so to the garbage it goes. As it lays there on top of all my junk, I couldn't help but wonder, would George Costanza have picked it up and bitten into it?..


Foolproof Pie Dough
make a double crust 9" pie
  • 2 1/2cups unbleached all-purpose flour (12 1/2 ounces), plus more for work surface
  • 1teaspoon table salt
  • 2tablespoons sugar
  • 12tablespoons cold unsalted butter (1 1/2 sticks), cut into 1/4-inch slices
  • 1/2cup vegetable shortening , cold, cut into 4 pieces
  • 1/4cup vodka , cold (do not substitute)
  • 1/4cup cold water

  • Process 1 1/2 cups flour, salt, and sugar in food processor until combined, about two 1-second pulses. Add butter and shortening and process until homogenous dough just starts to collect in uneven clumps, about 15 seconds; dough will resemble cottage cheese curds and there should be no uncoated flour. Scrape bowl with rubber spatula and redistribute dough evenly around processor blade. Add remaining cup flour and pulse until mixture is evenly distributed around bowl and mass of dough has been broken up, 4 to 6 quick pulses. Empty mixture into medium bowl.
  • 2. Sprinkle vodka and water over mixture. With rubber spatula, use folding motion to mix, pressing down on dough until dough is slightly tacky and sticks together. Divide dough into 2 even balls and flatten each into 4-inch disk. Wrap each in plastic wrap and refrigerate at least 45 minutes or up to 2 days.
  • 3. Remove 1 disk of dough from refrigerator and roll out on generously floured (up to 1/4 cup) work surface to 12-inch circle, about 1/8 inch thick. Roll dough loosely around rolling pin and unroll into pie plate, leaving at least 1-inch overhang on each side. Working around circumference, ease dough into plate by gently lifting edge of dough with one hand while pressing into plate bottom with other hand. Leave dough that overhangs plate in place; refrigerate while preparing filling until dough is firm, about 30 minutes.

Saturday, September 18, 2010

I made that!?!

Costa is a close friend of mine and one of the most generous and thoughtful person I know. Upon hearing of my new passion, he wanted to be supportive and offered me my first paying gig: 24 cupcakes for his clients. To show my appreciation for his support and trust, I wanted to make the most perfect 24 cupcakes ever. After a couple weeks of planning and practicing, I was so proud to present him with this.


Thankfully I wasn't the only one impressed, Costa loved them!!

My new red hot lover!

I truly have the best family in the whole world, they thought my passion was legit enough to invest in and they got me this. Let the drooling begin...


I'm in baking heaven...

Wednesday, September 8, 2010

Did you call me a tart?!?


It is time to make my first tart. 

I've always delayed the idea since as much as I love the elegance and chichiness of a tart, it's also always scared me. The crust just seems really tricky and totally out of my league. No room for success it seems. Oh well, what's another baking fiasco, bring it on Tart!!

The first step is to buy a tart pan. Did you know the bottom is removable? Well I will NEVER forget.


I picked this lovely coconut raspberry tart from BakingObsession as it looks so tasty. I attack the crust with trembling hands and go through making the dough, resting the dough, rolling the dough (I KNOW it's not supposed to crack like that, let's patch), resting the dough, form the dough, rest the dough some more. At this point, I'm exhausted but kinda proud. A parchment paper and some pie weight later it goes in the oven and I wait...


When the timer goes off, I'm as excited as I can be, and then it happened. I was so eager to get the crust out, that my inexperience hand held the pan from the bottom, yes, the removable bottom. The side piece of the pan just slides down my arm taking with it the whole side of my beautiful crust. It was like watching a deliciously smelling train wreck and there was nothing I could do about it. 


Tart 1 - Thanh 0

Yes there were internal tears and yes, there were cursing but I couldn't let the tart win. I restarted from scratch and after a few hours of holding my breath, I came up with this.


And it was so good. Oh yah, Tart 1 - Thanh 1.


Inspired by BakingObsession
Makes 9-inch tart
*Make sure you have a few hours as this has many components.
For the tart crust:
 1 ¼ cups all-purpose flour
      1/3 cup ground unsweetened coconut
½ cup confectioners’ sugar, sifted
¼ tsp salt
4 ½ oz cold unsalted butter, cut into ½-inch pieces and frozen for 20 minutes.
2 large egg yolks
½ tsp pure vanilla extract
For the white chocolate-raspberry ganache
6 oz good quality white chocolate, very finely chopped
3 tbsp (45g) unsalted butter, cut into small pieces, softened
2 tbsp whipping cream
6 tbsp fresh raspberry puree
1 tbsp light corn syrup
For the coconut pastry cream filling:
1 cup coconut milk
1 cup whole milk
  ½ vanilla bean, cut lengthwise
3 tbsp cornstarch, sifted
½ cup granulated sugar
1/8 tsp salt
2 large eggs
       4 tbsp (2 oz; 55g) unsalted butter, cold, cut into 1-tablespoon portions
Fresh raspberries
Make the crusts:
Combine the flour, coconut, icing sugar, and salt in the bowl of a food processor, pulse to combine. Scatter the pieces of butter over the flour mixture and pulse until the mixture resembles a coarse meal. In a small bowl lightly whisk the yolks and vanilla together. Dribble the yolk mixture through the processor tube while pulsing until clumps form. Turn the dough out onto a lightly floured surface and knead very lightly just to incorporate any dry ingredients that haven’t been mixed in. Form the dough into a disk, wrap in plastic wrap and refrigerate the dough for 1 hour.
Butter 9-inch tart pan with removable bottoms(!!!!). On lightly floured surface or on parchment paper, roll the dough into 1/8-inch thickness. Carefully transfer the rolled dough into the prepared pan and press the dough onto the bottoms and up the sides of the pans. Cut the excess of the dough. Dock the bottoms of the crusts with a fork and refrigerate for an hour.
Preheat the oven to 350 F. Line the crust with parchment paper, then with dry beans or pie weights. Bake for about 15 minutes, until set. Carefully remove the parchment and bake the crusts for another 10-12 minutes until light golden.
Make the white chocolate-raspberry ganache:
Pour about 1-inch of water into a frying pan and bring to a simmer. Remove from the heat and wait for a couple of minutes to cool. Place the chocolate into a medium bowl, then place the bowl with the chocolate into the hot water, just for a moment, to premelt the chocolate and buffer a shock of adding the hot liquid later. Remove the bowl from the water bath, add the butter.
In a small pan, bring to a boiling point the cream, raspberry puree, and corn syrup, stirring. Pour the hot mixture over the chocolate and let sit for two minutes without disturbing. When the time is over, gently stir the mixture with a rubber spatula in circular motion (from the center to the sides of the bowl) until the chocolate melts and the ganache is smooth. Let cool to room temperature and thicken. 
 Make the coconut pastry cream, assemble the tarts:
In a small saucepan, bring the coconut milk, milk and vanilla bean (scrape the seeds into the milk) to the boil over the medium heat. Off the heat, cover and let steep for an hour.
Prepare an ice bath.
Return the vanilla-infused milk to the medium heat. Reheat the milk once again to the boiling point. In the meantime, combine the sugar, cornstarch, salt, and the eggs in a medium bowl and whisk together.
Once the milk has reached the boil, temper the eggs by whisking a couple spoonfuls of the hot milk into the egg mixture. Continue whisking and slowly pour the rest of the milk into the tempered egg mixture.
Pour the egg-milk mixture back into the saucepan and place the pan over the medium heat. Whisk vigorously and continuously until the mixture returns to a boil. Keep whisking vigorously for 1 to 2 more minutes (still over medium heat). The pastry cream should be thick and the cornstarch taste should be all gone. Strain the pastry cream into a small bowl set into the ice-water bath to stop the cooking process.
Continue stirring the mixture at this point so it remains smooth. Once the cream has reached the temperature of 140F remove it from the ice-water bath and stir in the butter, one tablespoon at a time. Return to the ice-water bath to cool completely, stirring often. Cover with plastic wrap, pressing it directly over the surface of the cream and refrigerate up to 2 days.
To assemble the tarts, pour raspberry-white chocolate ganache into prebaked tart crust, tilt the tart shells so the ganache spreads and covers the bottoms thinly.  Fill the crusts with the coconut pastry cream, not up to the very edge. Scatter the raspberries over the coconut filling and allow it to set in the fridge for about and hour.

Monday, September 6, 2010

I say Oui to Clafoutis!

Labor day is the perfect slow day. Since nothing is open, you don't feel guilty staying in your pjs and bake!

I've bought a basket of good looking peaches yesterday and was hoping to make a great dessert out of it.But not any kind of dessert, I wanted to try something new, something different, something I've never made before. As I go through my morning ritual of browsing the 20 or so dessert blogs I follow, I stopped in my tracks when I see a peach and Meyer lemon clafoutis on BakingBites. I've never heard of a clafoutis before but it looked so divine that I couldn't resist. So the clafoutis challenge begins...

I started researching it and became increasingly excited to make this French baked dessert. A clafoutis is basically made with eggs, milk, sugar, a little flour and any kind of fruits, originally cherries. However, along with the excitement came confusion; none of the recipes I found were the same! Some recipes call for 2 eggs while other ask for 3, 4 or even 4 eggs plus 2 egg yolks. Even the amount of flour spans from none to a whole cup. Some call for milk while others call for heavy cream. The amount of fruits and sugar were never the same neither. I gave up deciphering through all of it and decided that if so many combinations would work, maybe I can come up with my own with what I have in the fridge and pantry.

Since I love peaches, I tried to squeeze in as many as possible in my 10" tart pan and also didn't bother removing the fruits' skin. Not only am I lazy, but I also love the color effects it gives.


I had some leftover coconut milk and decided to replace some of the milk with it to richen the mixture. I also added a pinch of nutmeg and made the whole thing in my food processor.


Dare I say that the result looked so delicious. As I've never tasted a clafoutis before, I' m not sure what it's supposed to taste like, and I don't really know if mine was done right, but I loved my little concoction. It came out so light and yummy. I'll try a "professionally" made one to compare next time. Or some of you could let me know if I'm doing anything wrong.


 Enjoy!

Thanh's Labor Day Peach Clafoutis
make 10" tart pan


5 medium sized peaches
1/2 cup all purpose flour *
1/3 cup + 1 Tblsp sugar
1/2 tsp baking powder *
1/4 tsp salt

pinch of nutmeg
3/4 cup milk 

1/2 cup coconut milk (I had leftover, but I guess you could use regular milk)
2 extra-large eggs
1 tsp vanilla extract
1/2 Tblspoon butter to butter pan


*Next time, I'll try to reduce the flour to 1/4 cup and omit the baking powder all together.


Preheat oven to 425F and lightly grease a 10-inch round baking/tart dish or a deep pie plate.


In a medium bowl, whisk together  milk, coconut milk, eggs and vanilla extract. In food processor, pulse flour,sugar, baking powder, salt and nutmeg to combine. With food processor running, slowly pour in the milk texture. Let it sit while you prepare your fruits.


Cut peaches in eighths and arrange slices in a single layer in pan. Pour prepared mixture in pan slowly and sprinkle 1 Tbsp sugar on top. Bake for 15 minutes at 425F then reduce the oven temperature to 350F and bake for an extra 20-25 minutes,  until clafoutis is golden brown and a sharp knife inserted into the center comes out clean.


Serve warm, at room temperature or chilled.