Saturday, September 18, 2010

I made that!?!

Costa is a close friend of mine and one of the most generous and thoughtful person I know. Upon hearing of my new passion, he wanted to be supportive and offered me my first paying gig: 24 cupcakes for his clients. To show my appreciation for his support and trust, I wanted to make the most perfect 24 cupcakes ever. After a couple weeks of planning and practicing, I was so proud to present him with this.


Thankfully I wasn't the only one impressed, Costa loved them!!

My new red hot lover!

I truly have the best family in the whole world, they thought my passion was legit enough to invest in and they got me this. Let the drooling begin...


I'm in baking heaven...

Wednesday, September 8, 2010

Did you call me a tart?!?


It is time to make my first tart. 

I've always delayed the idea since as much as I love the elegance and chichiness of a tart, it's also always scared me. The crust just seems really tricky and totally out of my league. No room for success it seems. Oh well, what's another baking fiasco, bring it on Tart!!

The first step is to buy a tart pan. Did you know the bottom is removable? Well I will NEVER forget.


I picked this lovely coconut raspberry tart from BakingObsession as it looks so tasty. I attack the crust with trembling hands and go through making the dough, resting the dough, rolling the dough (I KNOW it's not supposed to crack like that, let's patch), resting the dough, form the dough, rest the dough some more. At this point, I'm exhausted but kinda proud. A parchment paper and some pie weight later it goes in the oven and I wait...


When the timer goes off, I'm as excited as I can be, and then it happened. I was so eager to get the crust out, that my inexperience hand held the pan from the bottom, yes, the removable bottom. The side piece of the pan just slides down my arm taking with it the whole side of my beautiful crust. It was like watching a deliciously smelling train wreck and there was nothing I could do about it. 


Tart 1 - Thanh 0

Yes there were internal tears and yes, there were cursing but I couldn't let the tart win. I restarted from scratch and after a few hours of holding my breath, I came up with this.


And it was so good. Oh yah, Tart 1 - Thanh 1.


Inspired by BakingObsession
Makes 9-inch tart
*Make sure you have a few hours as this has many components.
For the tart crust:
 1 ¼ cups all-purpose flour
      1/3 cup ground unsweetened coconut
½ cup confectioners’ sugar, sifted
¼ tsp salt
4 ½ oz cold unsalted butter, cut into ½-inch pieces and frozen for 20 minutes.
2 large egg yolks
½ tsp pure vanilla extract
For the white chocolate-raspberry ganache
6 oz good quality white chocolate, very finely chopped
3 tbsp (45g) unsalted butter, cut into small pieces, softened
2 tbsp whipping cream
6 tbsp fresh raspberry puree
1 tbsp light corn syrup
For the coconut pastry cream filling:
1 cup coconut milk
1 cup whole milk
  ½ vanilla bean, cut lengthwise
3 tbsp cornstarch, sifted
½ cup granulated sugar
1/8 tsp salt
2 large eggs
       4 tbsp (2 oz; 55g) unsalted butter, cold, cut into 1-tablespoon portions
Fresh raspberries
Make the crusts:
Combine the flour, coconut, icing sugar, and salt in the bowl of a food processor, pulse to combine. Scatter the pieces of butter over the flour mixture and pulse until the mixture resembles a coarse meal. In a small bowl lightly whisk the yolks and vanilla together. Dribble the yolk mixture through the processor tube while pulsing until clumps form. Turn the dough out onto a lightly floured surface and knead very lightly just to incorporate any dry ingredients that haven’t been mixed in. Form the dough into a disk, wrap in plastic wrap and refrigerate the dough for 1 hour.
Butter 9-inch tart pan with removable bottoms(!!!!). On lightly floured surface or on parchment paper, roll the dough into 1/8-inch thickness. Carefully transfer the rolled dough into the prepared pan and press the dough onto the bottoms and up the sides of the pans. Cut the excess of the dough. Dock the bottoms of the crusts with a fork and refrigerate for an hour.
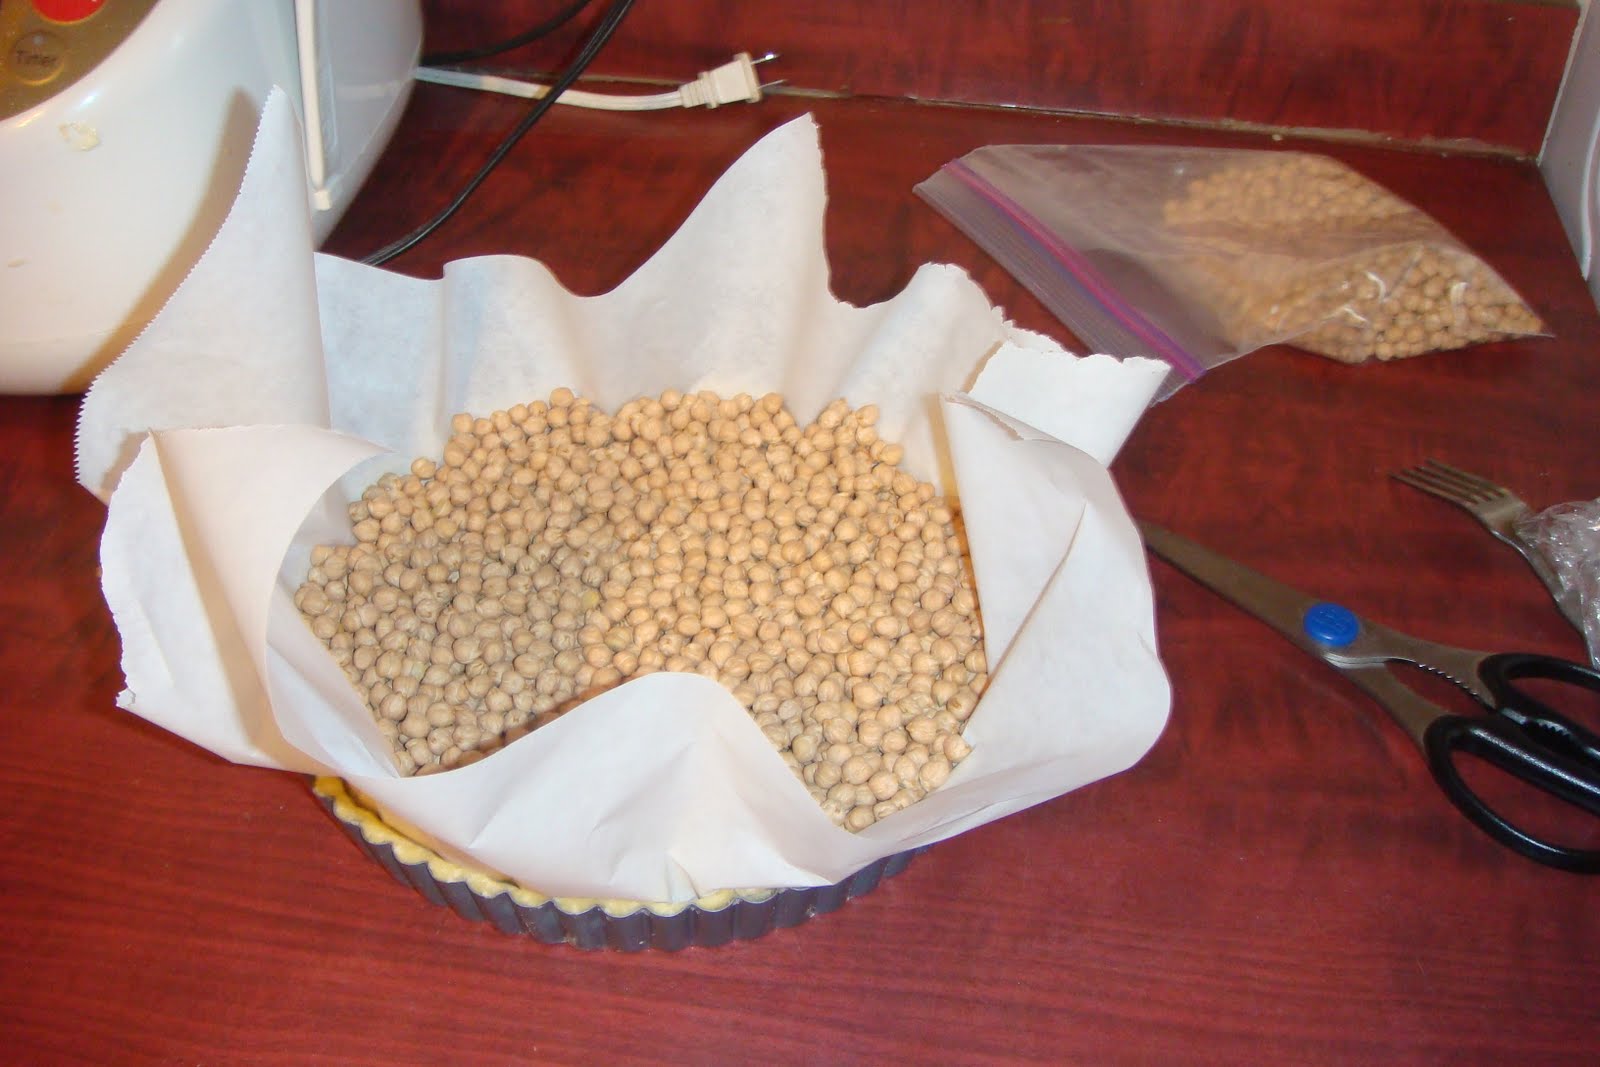
Preheat the oven to 350 F. Line the crust with parchment paper, then with dry beans or pie weights. Bake for about 15 minutes, until set. Carefully remove the parchment and bake the crusts for another 10-12 minutes until light golden.
Make the white chocolate-raspberry ganache:
Pour about 1-inch of water into a frying pan and bring to a simmer. Remove from the heat and wait for a couple of minutes to cool. Place the chocolate into a medium bowl, then place the bowl with the chocolate into the hot water, just for a moment, to premelt the chocolate and buffer a shock of adding the hot liquid later. Remove the bowl from the water bath, add the butter.
In a small pan, bring to a boiling point the cream, raspberry puree, and corn syrup, stirring. Pour the hot mixture over the chocolate and let sit for two minutes without disturbing. When the time is over, gently stir the mixture with a rubber spatula in circular motion (from the center to the sides of the bowl) until the chocolate melts and the ganache is smooth. Let cool to room temperature and thicken. 
 Make the coconut pastry cream, assemble the tarts:
In a small saucepan, bring the coconut milk, milk and vanilla bean (scrape the seeds into the milk) to the boil over the medium heat. Off the heat, cover and let steep for an hour.
Prepare an ice bath.
Return the vanilla-infused milk to the medium heat. Reheat the milk once again to the boiling point. In the meantime, combine the sugar, cornstarch, salt, and the eggs in a medium bowl and whisk together.
Once the milk has reached the boil, temper the eggs by whisking a couple spoonfuls of the hot milk into the egg mixture. Continue whisking and slowly pour the rest of the milk into the tempered egg mixture.
Pour the egg-milk mixture back into the saucepan and place the pan over the medium heat. Whisk vigorously and continuously until the mixture returns to a boil. Keep whisking vigorously for 1 to 2 more minutes (still over medium heat). The pastry cream should be thick and the cornstarch taste should be all gone. Strain the pastry cream into a small bowl set into the ice-water bath to stop the cooking process.
Continue stirring the mixture at this point so it remains smooth. Once the cream has reached the temperature of 140F remove it from the ice-water bath and stir in the butter, one tablespoon at a time. Return to the ice-water bath to cool completely, stirring often. Cover with plastic wrap, pressing it directly over the surface of the cream and refrigerate up to 2 days.
To assemble the tarts, pour raspberry-white chocolate ganache into prebaked tart crust, tilt the tart shells so the ganache spreads and covers the bottoms thinly.  Fill the crusts with the coconut pastry cream, not up to the very edge. Scatter the raspberries over the coconut filling and allow it to set in the fridge for about and hour.

Monday, September 6, 2010

I say Oui to Clafoutis!

Labor day is the perfect slow day. Since nothing is open, you don't feel guilty staying in your pjs and bake!

I've bought a basket of good looking peaches yesterday and was hoping to make a great dessert out of it.But not any kind of dessert, I wanted to try something new, something different, something I've never made before. As I go through my morning ritual of browsing the 20 or so dessert blogs I follow, I stopped in my tracks when I see a peach and Meyer lemon clafoutis on BakingBites. I've never heard of a clafoutis before but it looked so divine that I couldn't resist. So the clafoutis challenge begins...

I started researching it and became increasingly excited to make this French baked dessert. A clafoutis is basically made with eggs, milk, sugar, a little flour and any kind of fruits, originally cherries. However, along with the excitement came confusion; none of the recipes I found were the same! Some recipes call for 2 eggs while other ask for 3, 4 or even 4 eggs plus 2 egg yolks. Even the amount of flour spans from none to a whole cup. Some call for milk while others call for heavy cream. The amount of fruits and sugar were never the same neither. I gave up deciphering through all of it and decided that if so many combinations would work, maybe I can come up with my own with what I have in the fridge and pantry.

Since I love peaches, I tried to squeeze in as many as possible in my 10" tart pan and also didn't bother removing the fruits' skin. Not only am I lazy, but I also love the color effects it gives.


I had some leftover coconut milk and decided to replace some of the milk with it to richen the mixture. I also added a pinch of nutmeg and made the whole thing in my food processor.


Dare I say that the result looked so delicious. As I've never tasted a clafoutis before, I' m not sure what it's supposed to taste like, and I don't really know if mine was done right, but I loved my little concoction. It came out so light and yummy. I'll try a "professionally" made one to compare next time. Or some of you could let me know if I'm doing anything wrong.


 Enjoy!

Thanh's Labor Day Peach Clafoutis
make 10" tart pan


5 medium sized peaches
1/2 cup all purpose flour *
1/3 cup + 1 Tblsp sugar
1/2 tsp baking powder *
1/4 tsp salt

pinch of nutmeg
3/4 cup milk 

1/2 cup coconut milk (I had leftover, but I guess you could use regular milk)
2 extra-large eggs
1 tsp vanilla extract
1/2 Tblspoon butter to butter pan


*Next time, I'll try to reduce the flour to 1/4 cup and omit the baking powder all together.


Preheat oven to 425F and lightly grease a 10-inch round baking/tart dish or a deep pie plate.


In a medium bowl, whisk together  milk, coconut milk, eggs and vanilla extract. In food processor, pulse flour,sugar, baking powder, salt and nutmeg to combine. With food processor running, slowly pour in the milk texture. Let it sit while you prepare your fruits.


Cut peaches in eighths and arrange slices in a single layer in pan. Pour prepared mixture in pan slowly and sprinkle 1 Tbsp sugar on top. Bake for 15 minutes at 425F then reduce the oven temperature to 350F and bake for an extra 20-25 minutes,  until clafoutis is golden brown and a sharp knife inserted into the center comes out clean.


Serve warm, at room temperature or chilled.

Sunday, September 5, 2010

What's in a name anyways? And the Lemon Bread that got me a KitchenAid!!!

How did I come up with the blog name Les Trois Petits Citrons. Well it's inspired by "Les Trois Petits Cochons" which is the French version of the fairy tale Three Little Pigs. It's always been one of my favorites and it's the perfect name since I'm not the only "little pig" in this story. My two cousins Annie and Tina are also part of this baking obsession and we set up dates to meet and bake up a storm. All three of us have common dreams for the future of this baking adventure, and also, we have the same ultimate favorite dessert flavor: LEMON (citron, in French).

So...Once upon a time, there were trois petits citrons...


Annie and Tina have been away on vacation for a few weeks leaving me alone to eat all my baked good. They are finally back and I'm getting ready to pay them a visit and baked them a Lemon Bread. This bread is so good that my other cousin Priscilla lent me her KitchenAid for a few weeks in exchange of a loaf of my Lemon Bread (well it's not technically my recipe but I'm claiming it anyways). You MUST make this bread!


Favorite Lemon Tea Bread
Adapted from America's Test Kitchen


1 3/4 cups all-purpose flour
1/2 teaspoon baking powder
1/2 teaspoon salt
8 tablespoons (1 stick) unsalted butter, softened
1 1/3 cups sugar
2 tablespoons grated fresh lemon zest
3 large eggs
1/4 cup whole milk
1 Tablespoons fresh lemon juice

Preheat oven to 325 F. Grease and flour an 8 1/2 by 4 1/2-inch loaf pan (or 4 mini loaf pans).

Whisk the flour, baking powder, and salt together in a medium bowl. Put the lemon zest the sugar into the bowl of an electric mixer and rub the two together until the sugar is moist and fragrant. Add the butter to the bowl and combine the butter and sugar-lemon zest mixture on medium speed until light and fluffy, 3 to 6 minutes. Beat in the eggs, one at a time, until combined, about 30 seconds. Beat in the flour mixture, milk and lemon juice until just combined, about 20 seconds (do not overmix).

Scrape the batter into the prepared pan(s) and smooth the top(s). Bake until golden brown and a toothpick inserted into the center comes out with just a few crumbs attached. Total time will be about 65 to 75 minutes for an 8 1/2 by 4 1/2-inch pan or about 35 minutes for 4 mini loaf pans.

Let the loaf/loaves cool in the pan(s) for 10 minutes, then turn out onto a wire rack and let cool for 1 hour before serving.

Saturday, September 4, 2010

A banana bread fit for the King...of Rock'n'Roll

Inspired by my and Mr Elvis Presley's favorite sandwich, I present you the banana bread with peanut butter swirl.


I just took my favorite banana bread recipe and swirled in some peanut butter. It was delicious, I kept on hoping for a peanut butter bite.

Banana Bread with Peanut Butter Swirl
Adapted from America's Test Kitchen 
For 9" loaf pan
INGREDIENTS
  • 2cups unbleached all-purpose flour
  • 3/4cup granulated sugar
  • 3/4teaspoon baking soda
  • 1/2teaspoon table salt
  • 1 1/4cups toasted walnuts , chopped coarse (about 1 cup)
  • 3very ripe bananas , soft, darkly speckled, mashed well (about 1 1/2 cups)
  • 1/4cup plain yogurt
  • 2large eggs , beaten lightly
  • 6tablespoons unsalted butter , melted and cooled
  • 1teaspoon vanilla extract
  • 3/4  cup peanut butter (soften in the microwave for about 15 sec)
INSTRUCTIONS
  • 1. Adjust oven rack to lower middle position and heat oven to 350 degrees. Grease bottom only of regular loaf pan, or grease and flour bottom and sides of nonstick 9-by-5-by-3-inch loaf pan; set aside. Combine first five ingredients together in large bowl; set aside.
  • 2. Mix mashed bananas, yogurt, eggs, butter, and vanilla with wooden spoon in medium bowl. Lightly fold banana mixture into dry ingredients with rubber spatula until just combined and batter looks thick and chunky. Scrape batter into prepared loaf pan and spoon peanut butter on top of batter. With a skewer, quickly swirl peanut butter into batter. Bake until loaf is golden brown and toothpick inserted in center comes out clean, about 55 minutes. Cool in pan for 5 minutes, then transfer to wire rack. Serve warm or at room temperature.

I'm a Wilton Graduate!

I decided to take a Wilton Cake Decorating class (Level 1 of course!) since my decorating skills do not exist whatsoever. I had tons of fun an learned so much. Though I'm not ready to make a 4 tier wedding cake yet, the first step was taken. After 4 classes where they teach you how to frost, pipe, decorate and tempt you to buy a few dozen gadgets, I had to decorate my own cake as a final project. The cake didn't come easy (as usual!); after a couple of hours baking in horrendous heat and humidity, I had to scrap my homemade cake and rely on good ol' Betty Crocker.

Well this is the progression:

Class1: the basics and some piping practice.

Class2: Frosting a cake

Class3: Decorating cupcakes


Class4: Creating a cake!! I'm kinda proud...


And my nephew didn't mind all that baking at all